Dotfiles for macOS: From Terminal to Desktop Environment
Part 2: How AeroSpace, SketchyBar, Nushell infrastructure tooling, a custom Neovim IDE, and 80+ CLI tools turn macOS into a keyboard-driven engineering cockpit.
On this page
This is Part 2 of a two-part series on my dotfiles. Part 1 — My Dotfiles Aren’t Aesthetic. They’re Operational. covered the foundation: stow for symlinks, the zsh + Starship setup, aliases, Tmux, Git guardrails, and the philosophy of lazy-but-disciplined automation. It answered one question: how do I make my terminal operational?
This post answers the next one: what about everything else?
The terminal is just one window. What about the other dozen — browser, editor, Slack, Docker Desktop, three different terminals? Default macOS window management is drag-and-click theater. Stage Manager looks pretty in a keynote, but it’s fundamentally manual. For a keyboard-driven workflow, it’s friction.
This is Part 2: everything above the shell. Window tiling, a custom menu bar, infrastructure tooling in Nushell, a full Neovim IDE, and the 80+ CLI tools that replaced my defaults — all in the same dotfiles repo, all reproducible with stow ..
AeroSpace: Tiling Windows on macOS
If you’ve used i3 or Sway on Linux, you know the magic of a tiling WM. Windows snap to predictable, tiled positions based on a logical tree — no dragging, no arranging. AeroSpace brings that philosophy to macOS.
The real power isn’t just tiling. It’s the on-window-detected rules that automatically route apps to specific workspaces. My brain stopped tracking where windows are. They’re always in the same place.
- Workspace 2 — browser.
- Workspace 3 — code (Warp, Neovim, GitHub Desktop).
- Workspace 4 — communication (Slack, Discord).
View diagram source
graph LR
  Chrome["🌐 Chrome"] --> W2["Workspace 2
Browser"]
  Warp["💻 Warp"] --> W3["Workspace 3
Code"]
  Neovim["📝 Neovim"] --> W3
  GH["🐙 GitHub Desktop"] --> W3
  Slack["💬 Slack"] --> W4["Workspace 4
Comms"]
  Discord["🎮 Discord"] --> W4
# ~/.config/aerospace/aerospace.toml

[[on-window-detected]]
if.app-id = 'com.google.Chrome'
run = ['move-node-to-workspace 2']
[[on-window-detected]]
if.app-id = 'dev.warp.Warp-Stable'
run = ['move-node-to-workspace 3']
[[on-window-detected]]
if.app-id = 'com.tinyspeck.slackmacgap'
run = ['move-node-to-workspace 4']

# This triggers SketchyBar to update on every workspace switch
exec-on-workspace-change = [
    '/bin/bash', '-c',
    '~/homebrew/opt/sketchybar/bin/sketchybar --trigger aerospace_workspace_change'
]
The pitfall: Scripting every app on day one. I started with one rule — browser to Workspace 2. Lived with it for a week. Added rules only when an app caused actual friction. Let your workflow tell you what to automate.
SketchyBar: The Custom HUD
AeroSpace is invisible — pure logic. Switch workspaces and the screen changes, but there’s no indicator of where you are. That’s disorienting.
SketchyBar replaces the default macOS menu bar with a fully scriptable one. If AeroSpace is the brain, SketchyBar is the dashboard. Its state is driven entirely by shell scripts, which means it reacts to anything — including AeroSpace events.
The key synergy: AeroSpace emits an event on every workspace change. SketchyBar listens for that event and highlights the active workspace. They form a closed feedback loop — the window manager controls layout, the menu bar reflects it.
View diagram source
graph TB
  A["AeroSpace
Workspace Switch"] -->|"exec-on-workspace-change"| B["SketchyBar
Event Trigger"]
  B --> C["Update Active
Workspace Indicator"]
  C --> D["Highlight Focused App"]
  D -->|"Visual feedback"| E["You Always Know
Where You Are"]
My SketchyBar shows active workspace, focused app, music, and VPN status. Everything uses a custom “Ultra Rich” color palette — deep blacks, saturated neons, consistent with the terminal themes.
# ~/.config/sketchybar/plugins/aerospace_display.sh (simplified)

FOCUSED_WORKSPACE=$(aerospace list-workspaces --focused)
MONITOR_M1_WORKSPACE=$(aerospace list-workspaces --monitor 1 | head -n1)

if [ "$MONITOR_M1_WORKSPACE" = "$FOCUSED_WORKSPACE" ]; then
    sketchybar --set M1_display icon.color=$WHITE background.color=$HIGHLIGHT
else
    sketchybar --set M1_display icon.color=$GREY background.color=$TRANSPARENT
fi
The trap: Information overload. My first build showed CPU, RAM, disk, network, and weather. Impressive, but noise. I stripped it to essentials: which workspace, which app. Everything else has to earn its pixel.
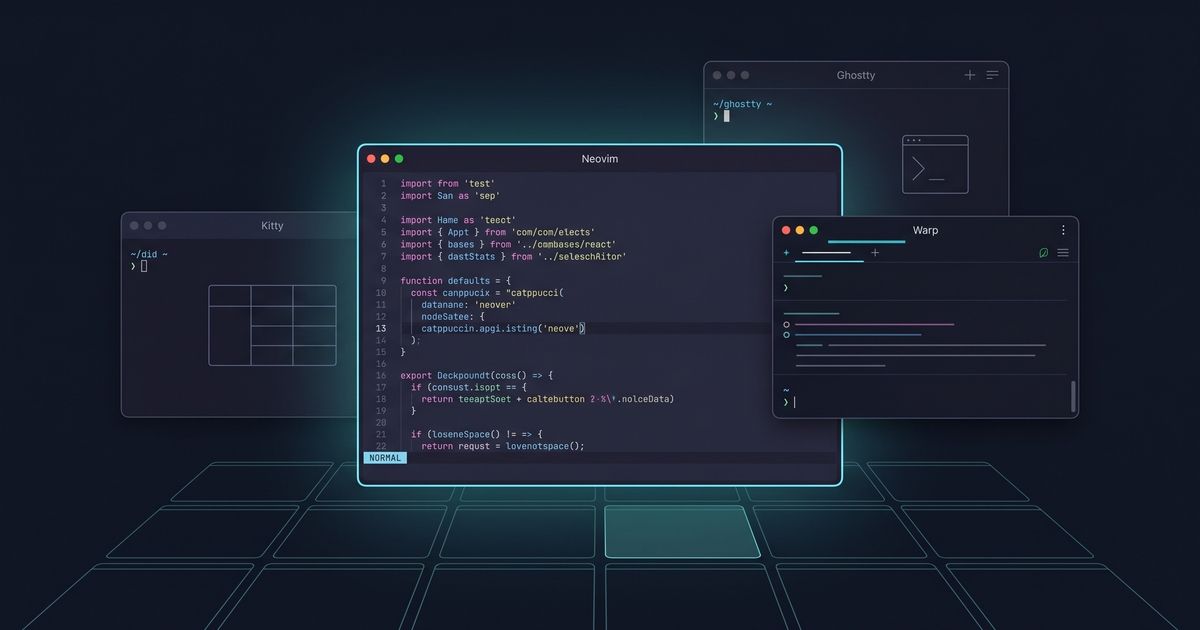
Three Terminals, Three Roles
My dotfiles configure three terminals. Not because I can’t pick one — because they serve different purposes.
Kitty — The Deep Work Terminal
GPU-accelerated, infinitely tweakable. My daily driver for long coding sessions. Background blur, transparency, and a custom background image create a “cyberpunk workstation” feel that’s surprisingly easy on the eyes during long sessions.
# ~/.config/kitty/kitty.conf

font_family      JetbrainsMono Nerd Font
font_size 11.5
background_opacity 0.90
background_blur 90
background_image ~/dotfiles/kitty/themes/bg.jpg
background_tint 0.9
include themes/Catppuccin-Mocha.conf
Ghostty — The GPU Shader Terminal
Ghostty’s killer feature: custom GPU shaders applied directly to the rendering pipeline. I stack three — a bloom glow on bright text, a futuristic cursor blaze, and a subtle cursor smear. Completely unnecessary. Feels like coding in the future.
# ~/.config/ghostty/config

custom-shader = shaders/bloom025.glsl
custom-shader = shaders/cursor_blaze_no_trail.glsl
custom-shader = shaders/cursor_smear.glsl
Warp — The Team Terminal
Block-based, AI-assisted, built for collaboration. I use it when pair-debugging or when I need Warp AI to explain a gnarly stack trace. My dotfiles keep its theme consistent with the rest of the system.
The rule: Tune effects until they’re felt more than seen. High bloom or heavy blur makes text harder to read. The goal is ambiance, not a rave.
Nushell: The Shell That Thinks in Tables
Here’s where I go beyond Part 1. My .zshrc handles daily shell work. But for infrastructure operations — connecting to databases, jumping into Kubernetes pods, SSHing into EC2 — I use Nushell. The difference is profound.
Nushell treats everything as structured data. Not strings. Not text blobs you grep through. Data with types, columns, and rows. When you’re navigating a fleet of databases or pods, you’re not parsing walls of text — you’re querying tables.
I built a set of custom Nushell commands that turn my entire infrastructure into an fzf-powered TUI:
go2pod— Browse K8s contexts, namespaces, and pods. Select one, pick a container, drop into a shell. No more memorizing namespace names or copy-pasting pod hashes.go2db— List all StrongDM databases (MySQL, Aurora, DocumentDB, Redis), fuzzy-select, auto-connect, launch the right client. One command.go2ssh— Same flow for SSH servers. Pick, connect, done.go2ec2— Browse running EC2 instances with SSM status. Connect via Session Manager. No SSH keys needed.
# go2db — one command to reach any database in the fleet

export def go2db [--fresh] {
    let databases = if not $fresh {
        let cached = (read-cache "db" "databases")
        if ($cached != null) { $cached } else {
            let fresh_data = (dblist)
            write-cache "db" "databases" $fresh_data
            $fresh_data
        }
    } else { dblist }

    let sorted = (sort-by-access "sdm" $databases)
    let selected = (fzf-select $sorted "Select database:")
    connect-by-type $selected  # Auto-detects MySQL vs Mongo vs Redis
}
Every command includes 24-hour caching, access-history sorting (most-used resources float to the top), and a consistent Catppuccin Mocha color scheme. Error handling is real — if StrongDM isn’t authenticated, it catches the error and auto-initiates the login flow.
The secret weapon is Nushell’s structured pipeline. Colorizing a pod’s status is a match expression, not a regex. Sorting by last access is sort-by on a real datetime column, not a string comparison hack. It’s the difference between scripting and programming.
The honest limitation: Nushell’s module system requires some imports to be parse-time constants. You can’t dynamically overlay use a virtualenv path stored in a variable. I work around it, but it’s a paper cut. The trade-off is worth it.
Neovim: A Django IDE That Fits in a Dotfiles Repo
My Neovim config started from Kickstart.nvim and evolved into a full Python/Django IDE. It’s structured as two layers: core/ for stable, framework-level plugins, and custom/ for personal workflow tweaks.
The Plugin Architecture
The stack is opinionated:
- blink.cmp for completion (faster than nvim-cmp, native fuzzy matching)
- Mason + mason-lspconfig for automatic LSP server management
- Telescope for fuzzy finding everything — files, symbols, diagnostics, help docs
- Treesitter for syntax, conform for formatting, nvim-lint for linting
- lazy.nvim for plugin management with lazy-loading
Django-Aware Keybindings
The custom/django.lua module auto-detects Django projects (checks for manage.py) and loads a full set of keybindings:
-- Auto-loaded when manage.py is detected in the project root

vim.keymap.set('n', '<leader>dr', function()
    run_django_command('runserver')
end, { desc = 'Django: Run server' })

vim.keymap.set('n', '<leader>dmm', function()
    run_django_command('makemigrations')
end, { desc = 'Django: Make migrations' })

vim.keymap.set('n', '<leader>dfm', function()
    find_django_file('models.py')
end, { desc = 'Django: Find models.py' })
<leader>dr runs the dev server. <leader>dmm makes migrations. <leader>dfm jumps to any models.py via Telescope. The full set covers views, URLs, settings, admin, forms, templates, and tests. It’s not a plugin — it’s 90 lines of Lua that disappear when you’re not in a Django project.
AI Integration — Three Layers
The config includes three AI tools, each for a different use case:
- Copilot — inline ghost-text suggestions while typing. Always on, unobtrusive.
- Claude Code — a floating terminal running Claude as a full coding agent.
Ctrl-,to toggle,<leader>ccto continue a conversation. - CodeCompanion — Ollama-backed chat for local, private AI queries. Uses Qwen 3 by default. MCP Hub integration for tool use.
The Aesthetic Layer
GitHub Dark Default theme with transparent backgrounds. Lualine statusbar uses Catppuccin Mocha colors — blue for normal mode, green for insert, sapphire for visual, with a custom spinner animation for LSP progress. Snacks.nvim handles notifications, indentation guides, and smooth scrolling. Dashboard shows recent projects and files on startup with random quotes.
It’s 40+ plugins, but lazy-loaded. Startup time stays under 80ms.
The CLI Arsenal
My Brewfile contains 80+ formulas. Here are the ones that changed how I work:
| Old Tool | Replacement | Why It’s Better |
|---|---|---|
ls | eza | Tree view, git status, icons, hyperlinks |
cd | zoxide | Frecency-based jump. z proj beats cd ~/Documents/projects/foo |
history | atuin | SQLite-backed, synced, searchable shell history across machines |
find | fd | Sane defaults, respects .gitignore, 5x faster |
grep | ripgrep | Same story — faster, smarter defaults |
cat | bat | Syntax highlighting, git integration, line numbers |
| Tab completion | carapace | Multi-shell completer that bridges zsh, fish, bash, and Nushell |
top | btop | Beautiful resource monitor with mouse support |
| Docker UI | lazydocker | Full Docker management TUI |
| Git UI | lazygit | Interactive staging, rebasing, conflict resolution |
And then there’s oh-my-posh — a cross-shell prompt engine with a custom JSON config. My prompt shows the current directory, git branch with ahead/behind counts (using emoji: racing car for ahead, turtle for behind), Python version, execution time for slow commands, and a cactus icon on success. It’s the same prompt whether I’m in Zsh, Nushell, or a remote SSH session.
The entire setup — every tap, formula, and cask — is captured in one Brewfile. A new Mac goes from zero to fully configured with:
brew bundle --file ./homebrew/Brewfile
stow .
That’s it. No manual steps. No “oh, I forgot to install X.” The Brewfile is the documentation.
The Philosophy
A dotfiles repo isn’t a backup. It’s a specification for how you interact with your machine. Every file in mine encodes a decision: this terminal for this task. This workspace for this app. This keybinding because my fingers already expect it there.
The common mistake is treating dotfiles as a collection of configs. They’re not. They’re a system. AeroSpace routes windows. SketchyBar reflects that routing. Nushell structures infrastructure access. Neovim provides the editing core. The CLI tools fill the gaps. And stow ties it all together with zero symlink management.
Start with one piece. Get it right. Then add the next.
And this is what it looks like when all the pieces come together — one screenshot, every layer operational:
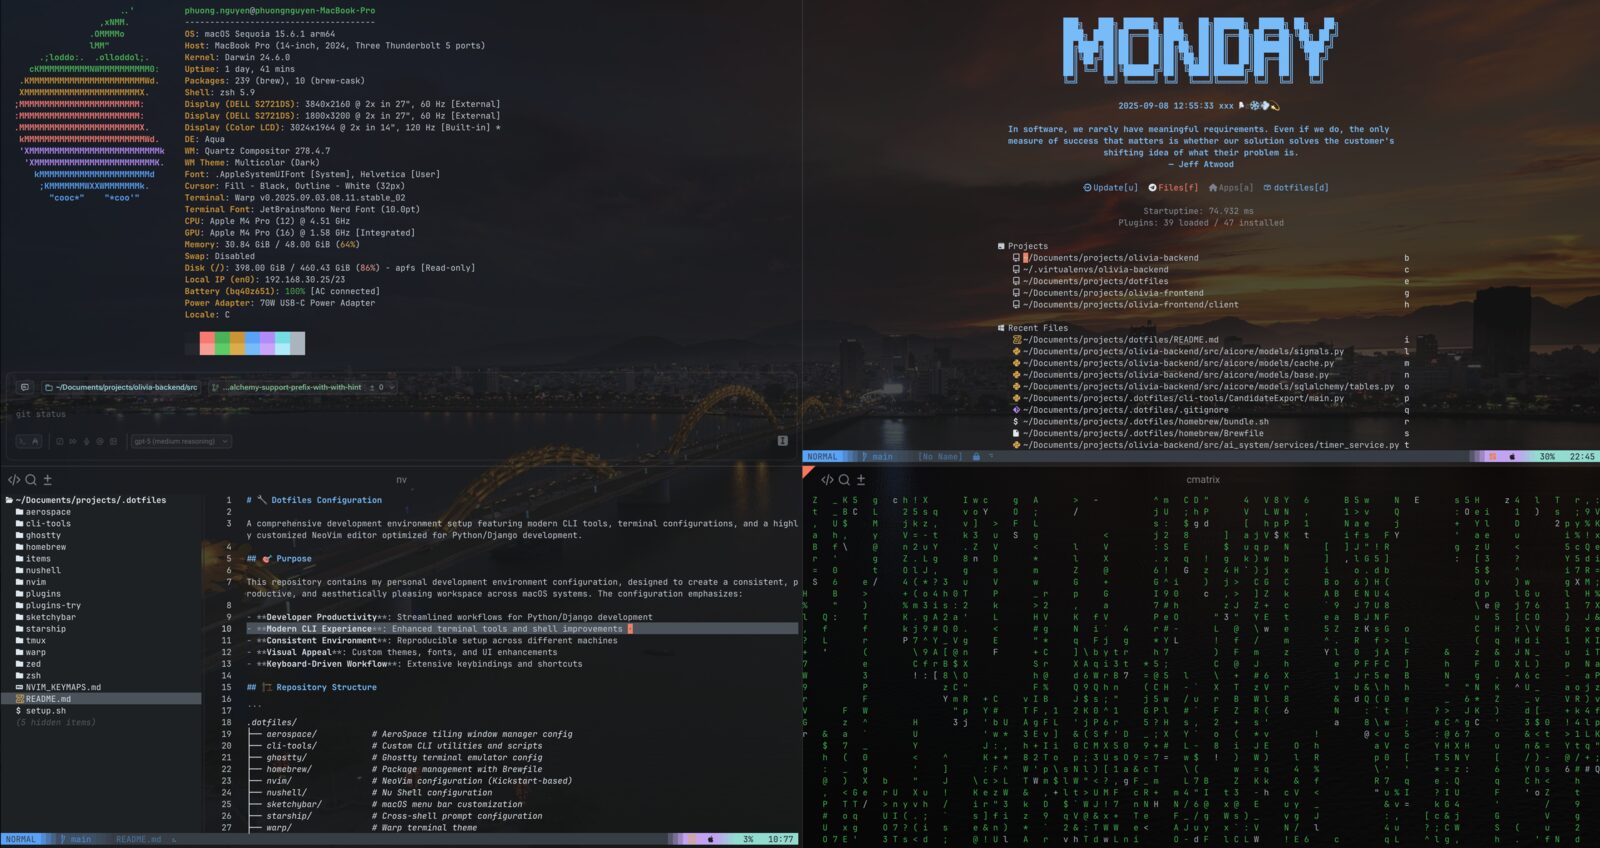
Stop configuring apps. Start engineering your environment.
If you missed the foundation under all of this — the shell, the aliases, the Tmux discipline, the Git guardrails — that’s Part 1: My Dotfiles Aren’t Aesthetic. They’re Operational. Together they’re the whole stack: terminal up, desktop down, one repo.